Before Applying LumiLor
Review LumiLor - Success Starts Here before applying LumiLor so you understand important topics such as design layout and substrate preparation.
Backplane Equipment and Materials
- HVLP system with 1.3mm nozzle and PSI of 20 - 25
- Disposable cup system
- ¼" to ½" masking tape
- Filter - 120 mesh or 125 micron
- Glass or plastic stir sticks (DO NOT use wood or metal stir sticks)
- Properly prepared and masked substrate
- Multimeter
- Some multimeters have pointed prongs which can scratch or dent your backplane material. To prevent this you can fold a piece of conductive tape over the prong tip or you can purchase rounded prong covers.
Backplane Application Key Points
Solvent based, sprayable, conductive paint used as the first layer in the LumiLor Stack.
Backplane is pre-mixed and ready to spray.
The backplane layer typically will consist of of 2 - 3 coats and typically will not exceed 4 coats.
Cross coat - Spray with a 50% to 75% overlap to cover the entire surface and then immediately spray a second coat perpendicular to the previous coat with a 50% to 75% overlap.
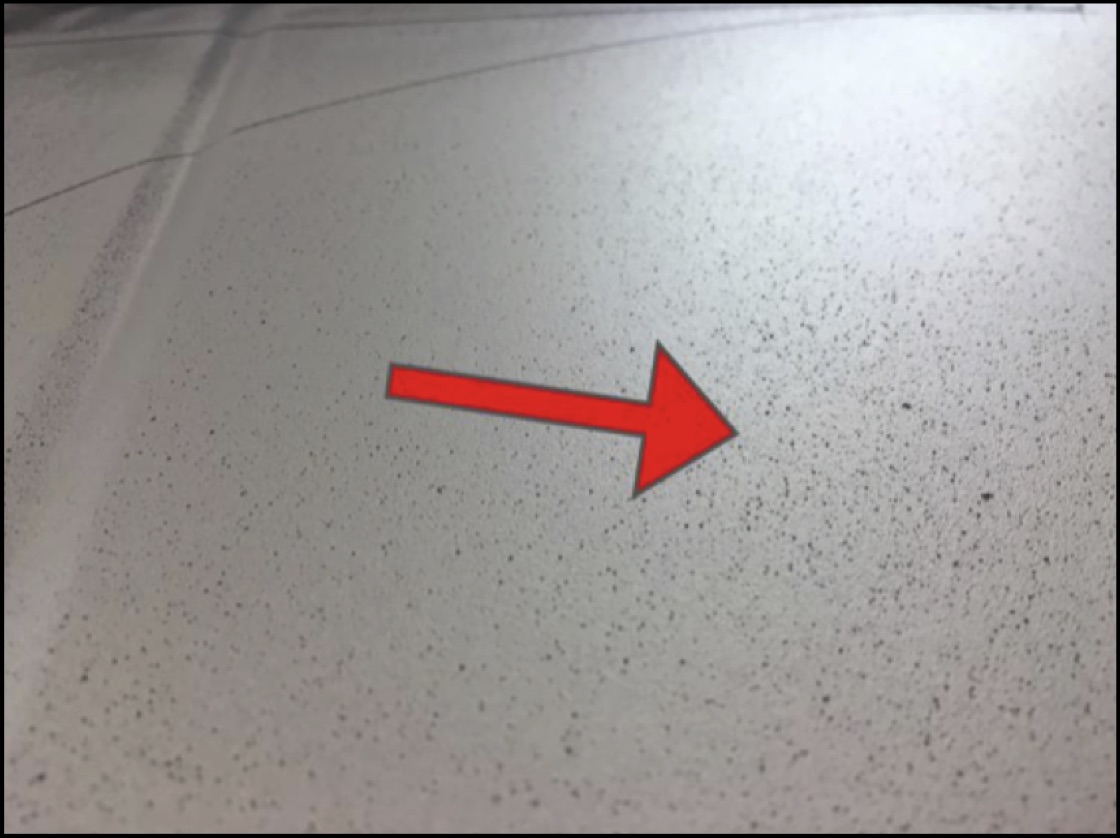
LumiLor will only emit light directly above where the backplane is applied.
The backplane material will crack if applied too heavy and/or if dry times are artificially accelerated.
Make sure to spray the connection area tab two or three times in each pass to ensure that it will have enough conductive material to support the electrical current.
Backplane thickness is approximately 1 mil or 25 microns.
Backplane and Busbar
Backplane and Busbar SHOULD NOT be applied at the same time to avoid issues with the integrity of your LumiLor Stack.
Backplane Masking
Unmask the substrate masking and add new masking to cover backplane connection area.
Steps for Unmasking Substrate Mask
- Unmask all the paint mask or application tape first.
- Unmask the masking tape and the vinyl tape at the same time.
- Make sure to pull the tape back against itself cutting the edge of the paint that was applied.
- Note: If tape is pulled directly up or 90° from the surface it might pull up the previously painted areas.
- VERY IMPORTANT - Once all the tape is removed take 1000-1500 grit sandpaper and lightly sand down the entire perimeter of the backplane to knock down the peak of backplane material that was created from the fine line tape.
Steps for Masking Backplane
- Tape the backplane connection area(s) with masking tape including ⅛" outside the connection area made by the backplane. This is to ensure the next two layers of the dielectric and LumiColor do not touch the connection site.
Backplane Application
Step 1 - Mix and Strain
- Thoroughly shake for 1 to 2 minutes
- Mix with glass or plastic stir sticks to insure no solids are at bottom of container
- DO NOT use wood or metal stir sticks
- Shake again as needed
- Strain with 120 mesh or 125 micron filter
Step 2 - Apply First Coat
- Apply a light cross coat from approximately 8" to 10" away
- This allows the conductive layer to adhere to the substrate and have enough roughness for the next layer.
- Be sure to spray connection area
- Let dry for 5 to 10 minute dry time at 70°F.
- Result is a smooth finish with no particles embedded.
- Use a pointed wooden object such as a popsicle stick to carefully remove particles after dry time.
Step 3 - Apply Second Coat
- Apply a medium to wet cross coat from approximately 6" to 8" away.
- Be sure to spray connection area.
- Let dry for 5 to 10 minute dry time at 70°F.
- Result is a smooth finish with no particles embedded.
- Use a pointed wooden object such as a popsicle stick to carefully remove particles after dry time.
Step 4 - Test Conductivity
- Check backplane conductivity with multimeter once it is dry.
- Wet backplane material will not provide a stable reading, it will jump from low to high back and forth.
- Dry backplane will have a stable reading at a specific number.
- Check from different locations across the substrate to insure a consistent reading.
- Target reading is around 10 ohms.
- If reading is greater than 20 ohms then more backplane needs to be applied.
- Readings between 20 and 50 ohms will eventually start to generate heat when powered.
- Resistance above 50 ohms will start to burn.
Step 5 - Apply Third Coast if Needed
- Apply a medium to wet cross coat from approximately 6" to 8" away.
- Apply at a 45° or 90° rotation, or cross hatch, to the direction the second coat was applied.
- Let dry for 5 to 10 minute dry time at 70° F.
- Result is a smooth finish with no particles embedded.
- If particles are found after dry time, use a pointed wooden object such as a popsicle stick to carefully remove particles.
Step 6 - Re-test Conductivity
Target ohms reading MUST be achieved. If not, repeat the process with another coat until the desired ohms reading is achieved.
Backplane Dry Time, Unused Material, and Clean-up
Wait a minimum of 15-30 minutes and a maximum of 8 - 12 hours before preparing for dielectric.
Return unused material to original container after agitated in the spray gun cup.
Clean any used containers and/or spray guns with thinners or acetone immediately after use.
Dry times will vary based on local environmental conditions.
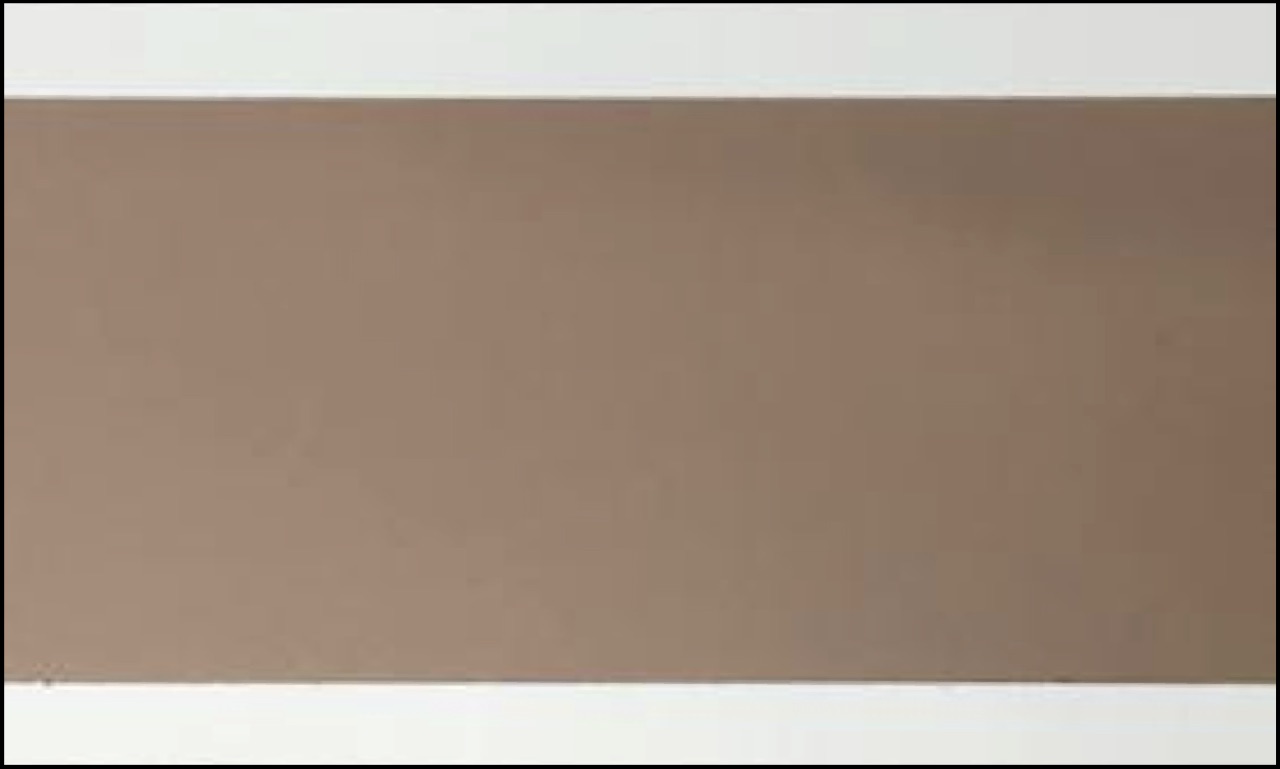
Backplane Visual Reference Guide
Backplane properly applied produces a smooth finish.
Backplane - Grain Effect when Power is Off
- Cause - Backplane applied too dry
- To Correct This - Sand with 800 grit then re-apply until proper reading is achieved
- To Avoid This - Sprayed too far away, move closer when applying or adjust air pressure to correct settings.